
Guide Overview
This guide is for printed clickers where the important outcome is fit and feel: the parts should assemble cleanly, move freely, click consistently, and avoid sloppy looseness.
The first example is the MakerWorld Capybara Clicker Keychain. Exact screenshots and slicer values should be added after opening the model in Bambu Studio.
Tested Through Real Prints
We have printed hundreds of clicker parts while testing socket size, stem fit, wall clearance, material behavior, and Bambu Studio settings. The point of this guide is to turn that trial and error into a shorter path for you: start with the proven checks, print a small test, then tune only the part of the fit that is actually wrong.
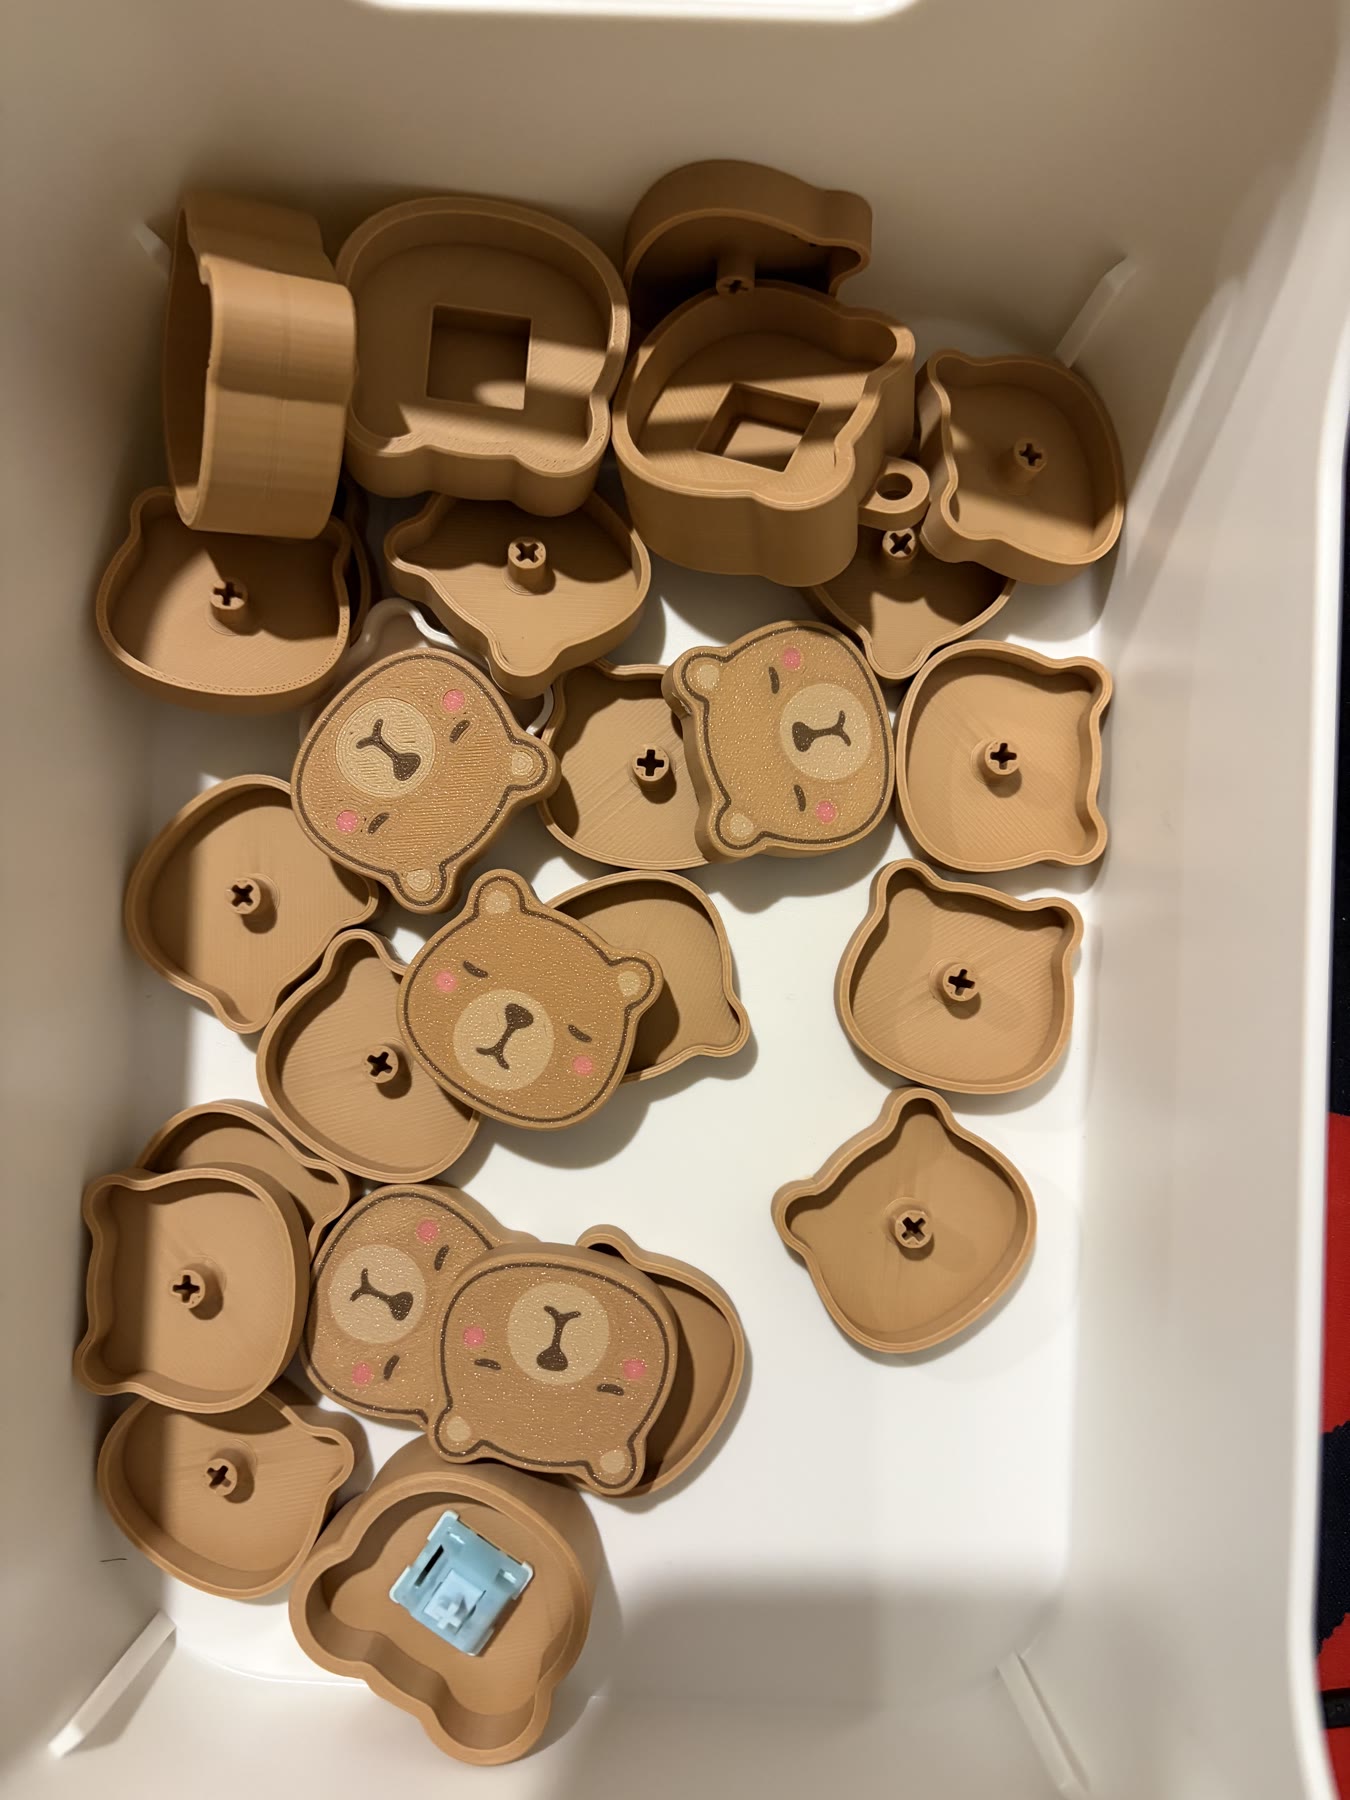
What Good Fit Means
A good clicker fit is not just "the parts go together." Record these outcomes for every test print:
| Outcome | Good result |
|---|---|
| Assembly | Parts seat without cracking, shaving, or forced pressure. |
| Movement | The click area moves without binding through the full travel, and the top cap does not touch or scratch the base when pressed down. |
| Return | The mechanism returns consistently after each press. |
| Sound | The click is repeatable, not mushy or muted. |
| Looseness | No obvious rattle unless the model intentionally needs free play. |
| Finish | No required cleanup beyond normal brim/support removal. |
First Content Milestones
- Capture the MakerWorld model profile and Bambu Studio version.
- Print a baseline using the downloaded profile without fit tweaks.
- Identify the actual fit surfaces in the model.
- Build a small iteration table from the first three test prints.
- Add screenshots so the guide is reproducible by a new user.